How to Replace a Headlight Bulb Without Damaging It
Replace a headlight bulb with the engine off and the bulb cool. Hold it by the base, never the glass, and keep fingers off halogen or HID quartz. A bad grip can crack the capsule, contaminate it with oils, or loosen the connector, which can lead to early failure or a dead beam. This guide shows the right handling steps by bulb type and the mistakes that damage the lamp, socket, and housing.
Which bulb type do you have?
Start with the owner’s manual and the exact bulb code before you buy anything. Halogen, HID xenon, and sealed LED headlight units do not use the same removal method, and the wrong part can fit loosely, overheat, or fail to light at all.
Check the manual first
Your owner’s manual lists the bulb type, part number, and access route for your vehicle. That matters because one car may allow a roughly five-minute swap, while another may need about 2 hours and extra trim removal.
Halogen, HID, and LED are not interchangeable
Halogen bulbs are still the most common replacement type, and common formats include H1, H3, H4, and H7. HID bulbs are also called xenon bulbs and are usually labeled D1S/D1R, D2S/D2R, or D3S/D3R. Many newer cars use LED headlight units that are sealed or module-based, so there may be no bulb to swap at all.
Confirm the exact bulb code before buying
Match the code in the manual to the replacement part. The S and R versions of HID bulbs differ by beam pattern, so a wrong match can light the road poorly or throw glare where it should not go.
What access issues should you expect?
Most headlight bulbs are reached from behind the housing, but the rear of the lamp can be crowded by a battery box, airbox, or other parts. On some cars you can reach it directly; on others, you need to remove pieces first to make room for your hands.
Rear access is typical, not guaranteed
Open the hood and look behind the headlight assembly first. If the rear cover, dust cap, or connector is hidden, check the manual before pulling on parts at random.
When a battery box or airbox blocks the way
On some vehicles, the headlight opening is there but your hands are not. If a battery box or airbox sits in the way, do not force the bulb sideways through a gap that is too tight; that is how tabs snap and housings crack.
Tools and trim parts may be needed
Champion notes that many bulbs come out without tools, though some need screwdrivers. Follow the vehicle manual for any trim, cover, or fastener removal, and keep removed parts away from airbag zones and the driver’s view. Check local laws where lighting changes or front-end access work are regulated.
How do you remove the bulb safely?
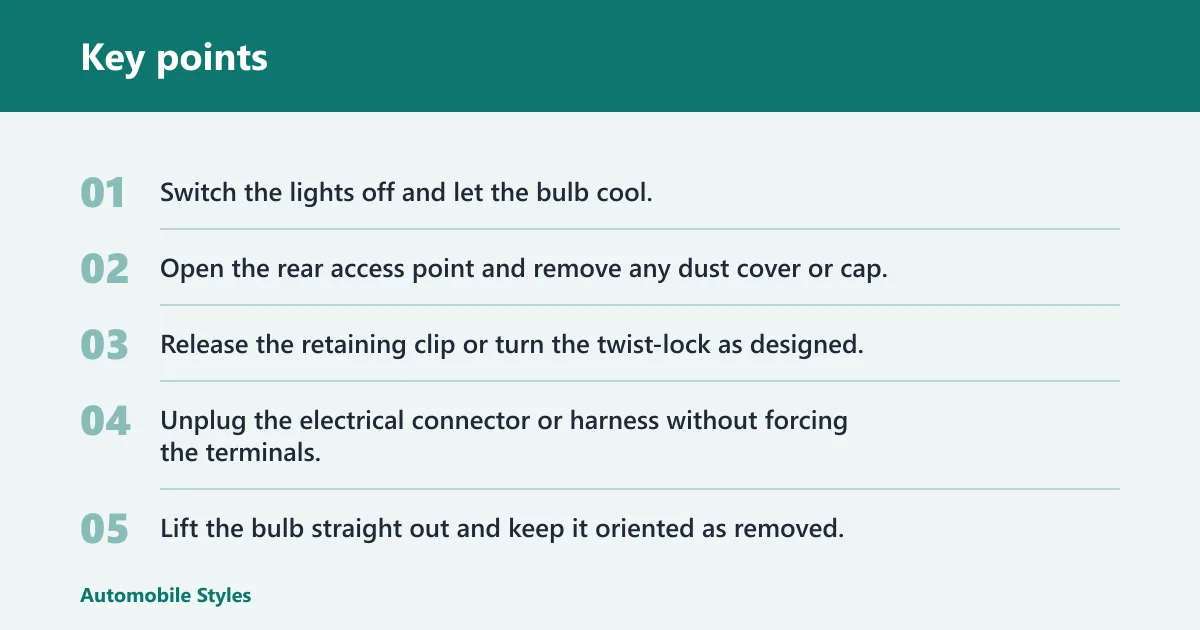
Remove the bulb by releasing the correct retaining mechanism first, then unplug the connector or harness as the design requires. Do not pry against the housing, and stop if the bulb feels stuck; the goal is removal without bending the clip, breaking the base, or stressing the socket.
Release the retaining clip or twist-lock
Halogen bulbs are commonly held by a twist-lock base or a wire clip. Some designs let the connector come off before the clip is released; others need the clip loosened first. The manual or a clear look at the hardware should tell you which path the housing uses.
- Switch the lights off and let the bulb cool.
- Open the rear access point and remove any dust cover or cap.
- Release the retaining clip or turn the twist-lock as designed.
- Unplug the electrical connector or harness without forcing the terminals.
- Lift the bulb straight out and keep it oriented as removed.
How connector release order can vary
Do not assume the connector must always come off before the clip. On many halogen setups, the retaining clip has to be released first, then the connector or bulb slides free. If the terminal feels locked, pause and look for a tab instead of pulling harder.
What to do if the bulb feels stuck
Stop before breaking the housing, clip, or bulb base. A stuck bulb usually means a hidden lock, corrosion, or a warped retaining piece. If it will not move with light, even pressure, the safer choice is to check the manual or stop for professional service.
How do you avoid damaging a replacement bulb?
Handle halogen and HID capsules by the base, keep the glass clean, and avoid force. The biggest risks are skin oil on the bulb, a crooked install, and a connector that is not fully seated on reassembly.
Halogen glass handling and contamination
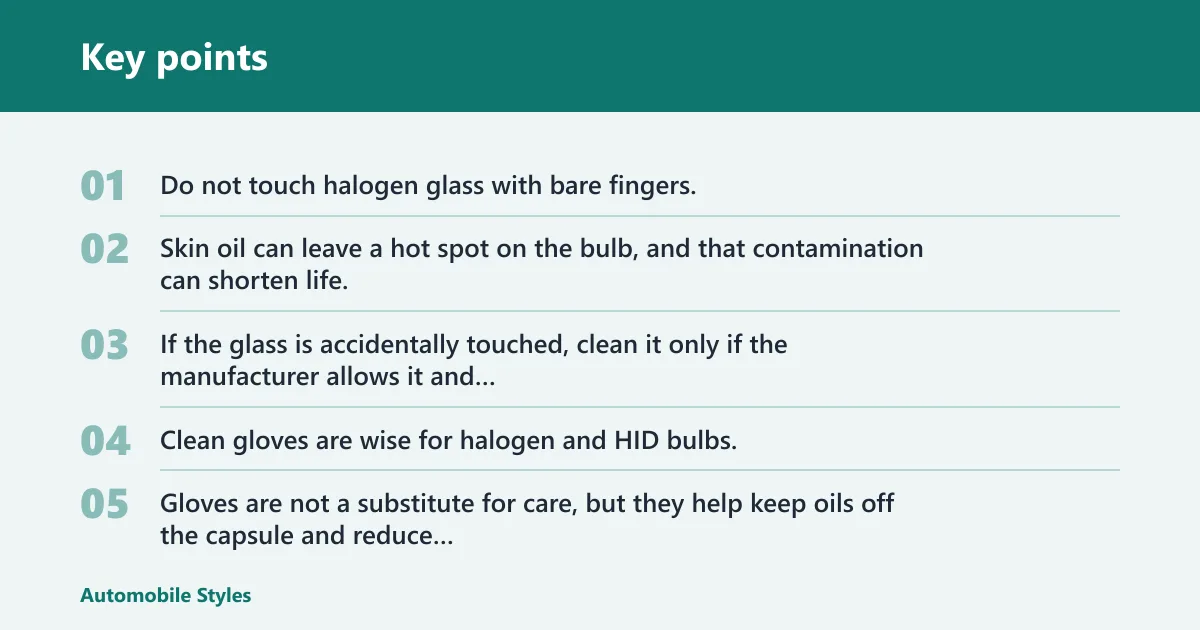
Do not touch halogen glass with bare fingers. Skin oil can leave a hot spot on the bulb, and that contamination can shorten life. If the glass is accidentally touched, clean it only if the manufacturer allows it and use a lint-free cloth with alcohol, then let it dry fully before installation.
When gloves are useful
Clean gloves are wise for halogen and HID bulbs, especially if the access point is awkward. Gloves are not a substitute for care, but they help keep oils off the capsule and reduce the chance of dropping the bulb into the housing.
Say your H7 low beam sits behind a tight dust cap and one finger brushes the quartz tube while you line up the tabs. Wipe the glass with alcohol on a lint-free cloth, let it dry, and restart the install rather than hoping the contamination will burn off cleanly.
Why force is the main risk
Do not twist, bend, or jam the bulb into place. If the tabs do not line up, the bulb is probably not oriented correctly. Forcing the base can bend the retaining clip, crack the socket, or leave the connector partly seated and cause a no-light result.
Don’t-damage-the-bulb decision checklist
| Bulb type | Safe handling method | Stop-and-check warnings |
|---|---|---|
| Halogen | Handle by the base, use clean gloves, line up tabs, and keep the glass clean. If the bulb was touched, clean the glass with alcohol only if the bulb design allows it. | Stop if the clip will not release, the glass has fingerprints, the connector will not seat, or the housing needs excessive force. Check the manual if access is blocked by a battery box or airbox. |
| HID / xenon | Follow the manual exactly, disconnect as directed, and treat the capsule carefully by the base. Use gloves if the bulb is exposed, and keep hands away from the quartz tube. | Stop if you see a ballast, high-voltage wiring, cracked capsule, flicker that was present before removal, or any sign the system is not a simple bulb swap. High voltage makes this a different job from halogen. |
| Sealed LED unit | Confirm whether the vehicle uses a serviceable LED module or a sealed assembly. If the listing or manual does not show a bulb replacement path, do not force the unit apart. | Stop if the lamp is sealed, the connector is integrated, a warning light stays on, or retrofit parts are required. This often calls for professional access or module replacement. |
What changes with HID and LED units?
HID and LED systems need their own rules. HID xenon circuits can involve very high voltage, and many LED headlight units are sealed or module-based, so the safe answer is often different from a halogen bulb swap.
HID voltage and ballast warnings
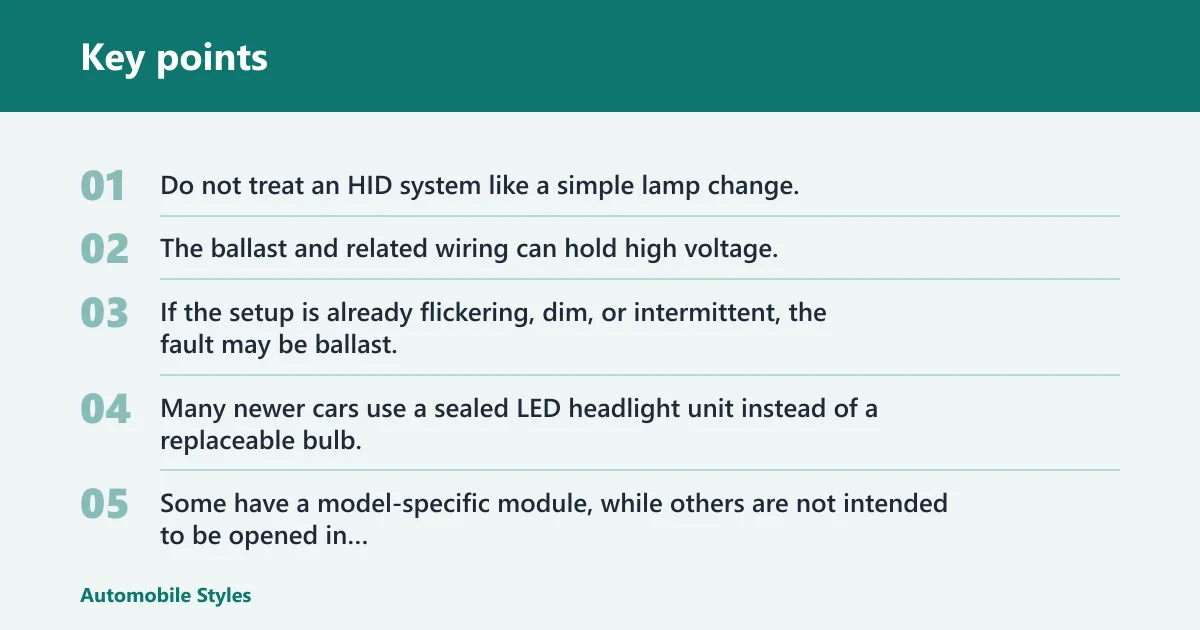
Do not treat an HID system like a simple lamp change. The ballast and related wiring can hold high voltage, and the bulb types are specific: D1S/D1R, D2S/D2R, or D3S/D3R. If the setup is already flickering, dim, or intermittent, the fault may be ballast, wiring, or control related rather than the bulb itself.
Why some LED units are not serviceable
Many newer cars use a sealed LED headlight unit instead of a replaceable bulb. Some have a model-specific module, while others are not intended to be opened in driveway conditions. If the manual does not show a bulb replacement step, do not assume the assembly can be opened safely.
Picture a late-model sedan with a sealed LED low beam and a warning message on the dash. A bulb swap is not the right first move; that setup may need module diagnosis, not a loose bulb or a pair of gloves.
When professional service makes more sense
Get help if the clip is broken, the connector is melted, the bulb area is tight enough that you cannot work without forcing parts, or the same bulb keeps failing. Professional service is also the better call for complex HID systems and sealed LED assemblies.
Should you replace both bulbs at once?
Replacing both bulbs at once is commonly recommended because it helps keep brightness and color closer side to side and avoids doing the same labor twice. If the other bulb is near the end of its life, a pair replacement is usually the cleaner choice.
Brightness balance and color match
Even when only one bulb failed, the other side may already be dimmer or slightly different in color. A new pair reduces the chance of uneven low beam output and gives you a matched set from the start.
When a single-bulb replacement is still reasonable
Single-bulb replacement can make sense if the other lamp is still recent, the vehicle uses a sealed LED unit with one failed module only, or the owner’s manual calls for a specific one-side service. If the existing bulb is clearly healthy, replacing only the failed side is acceptable.
Why pair replacement can save repeat labor
With many cars, the hard part is access, not the bulb itself. If one side requires removal of trim, an airbox, or a battery box for clearance, replacing both bulbs while the area is open can prevent doing the same work again soon.
How do you know if you need tools to change a headlight bulb?
Many bulbs can be removed without tools, but the exact answer depends on the housing and the parts around it. If the owner’s manual shows a dust cover, trim piece, or a screwdriver-retained panel, have the right tool ready before you start.
Signs that no tools may be needed
If the rear cover comes off by hand and the bulb uses a simple twist-lock or clip, the job may be tool-free. That said, tight packaging can still make the work slow even when no special tool is required.
Signs that tools or extra removal are likely
If the battery box, airbox, or nearby trim blocks your hands, expect some extra disassembly. The manual is the best guide here, because the needed steps vary by model and some vehicles hide the lamp so tightly that access is the real challenge.
Reinstall and verify the repair
Once the new bulb is in place, seat the connector fully, secure the retaining mechanism, reinstall the cap or dust cover, and test the lights before closing the hood. A loose connection can leave you with one dead beam even when the bulb is good.
Use a simple post-install sequence
- Confirm the bulb is fully locked in the housing.
- Reconnect the electrical connector until it seats completely.
- Turn on the headlights and check both sides.
- Look for warning lights or a one-side-only failure.
- Check the beam aim against a wall or garage door before road use.
Why beam aim matters
Beam aim affects how much road you can see and how much glare you throw at other drivers. If the cutoff is too high, too low, or obviously crooked after replacement, follow the owner’s manual for adjustment or have the aim set professionally.
What if the new bulb still does not light?
If one side still fails after a correct bulb swap, the cause may be a fuse, wiring fault, connector damage, ballast, module, or control issue rather than the bulb. At that point, a second bulb will not fix the problem, and deeper diagnosis is the right next step.
Frequently asked questions
How do I replace a car headlight bulb without breaking it?
Match the bulb code to the owner’s manual, let the bulb cool, and remove it by the retaining method your housing uses. Handle halogen and HID capsules by the base, keep the glass clean, and avoid forcing the connector or clip. If access is tight, stop before bending anything.
How do I remove a headlight bulb safely?
Open the rear access point, remove the dust cover if present, and follow the housing’s release method. On some cars the clip comes off before the connector; on others the order is reversed. Pull only after the bulb is free, and keep the socket and wiring from twisting.
Can I touch a new headlight bulb with my bare hands?
Not on a halogen bulb, and not on the quartz part of an HID bulb. Skin oil can shorten bulb life or create a hot spot on the glass. If contact happens, clean the glass only if the bulb design allows it and reinstall it dry and clean.
What should I do if the bulb is stuck in the housing?
Stop before breaking the housing, clip, or base. A stuck bulb often means the lock has not been released fully, corrosion is present, or the access is too tight to work safely. Check the manual, reassess the retaining method, and use professional service if the part will not move.
Why won’t my new headlight bulb work after installation?
Check the connector seating first, then the retaining lock, fuse, and wiring. If the bulb is correct but the light still stays out, the problem may be the ballast, module, connector, or control circuit. That is common with HID and LED systems, and it is not always a bad bulb.
Should I replace both headlight bulbs at once?
Often yes, especially on halogen headlights, because it keeps brightness and color closer from side to side and avoids repeating the labor. A single replacement is still reasonable when the other side is recent or the vehicle uses a one-side serviceable LED module. Check the manual before deciding.