How to measure a 6-Lug or 8-Lug bolt pattern
For 6-lug and 8-lug wheels, measure from the center of one lug hole straight across to the center of the hole directly opposite; that number is the bolt pattern diameter, such as 6×139.7 or 8×170. A wrong read can mean a wheel that will not seat, damaged studs, or a wasted return. This guide shows the fast measuring method, common mistakes, and a verification workflow before you buy or install.
For broader fitment context, start with the wheel fitment guide, then verify the related details in the 5-lug bolt pattern guide, the wheel offset guide, the wheel center bore guide, and the year/make/model wheel lookup guide.
What you’ll need
- Ruler or tape measure for a quick center-to-center check
- Caliper if you want a tighter reading on the hole centers
- Bolt pattern gauge if you want a dedicated fitment tool
- Hubcap or wheel cover removal tool if the lug nuts are hidden
- Vehicle year/make/model lookup for a final check when the size is uncertain
- Paper and pen or a phone note to record the result as number x diameter
Count the lug holes first, then measure across the wheel from the center of one hole to the center of the hole directly opposite. For a 6-lug wheel, that center-to-center line gives you the bolt circle diameter, which is then written as number x diameter. One wheel is enough to check.
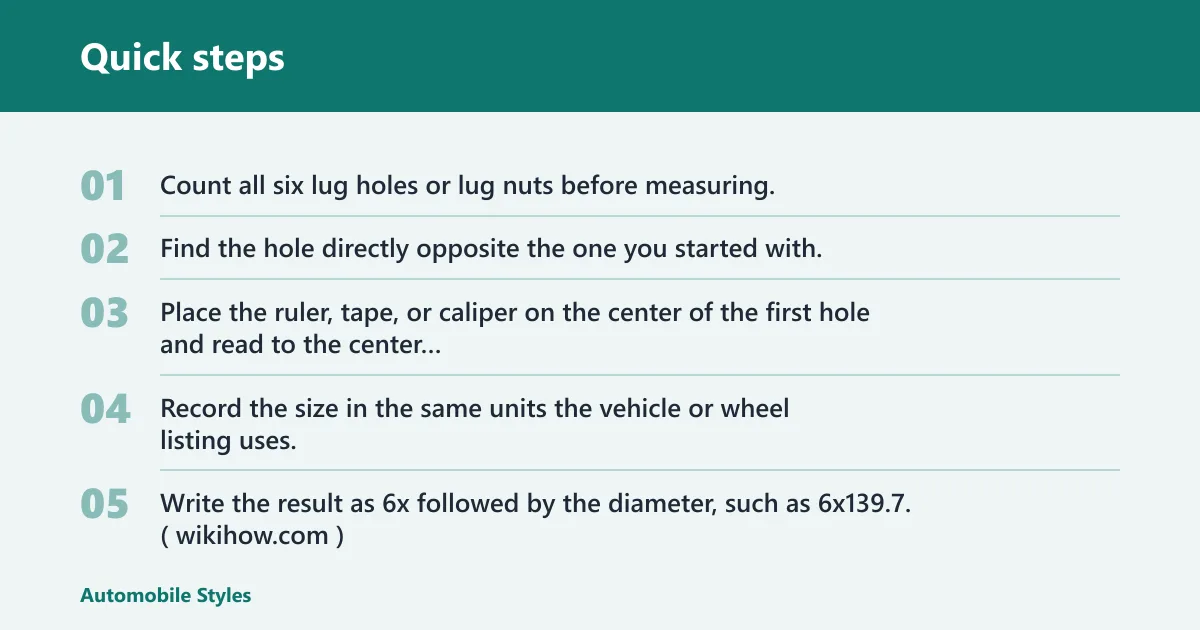
Measure a 6-lug wheel in order
- Count all six lug holes or lug nuts before measuring.
- Find the hole directly opposite the one you started with.
- Place the ruler, tape, or caliper on the center of the first hole and read to the center of the opposite hole.
- Record the size in the same units the vehicle or wheel listing uses, usually millimeters for metric patterns.
- Write the result as 6x followed by the diameter, such as 6×139.7. (Wikihow)
If a truck wheel has six evenly spaced lug holes and the opposite-center reading lands on about 139.7 mm, the pattern is written as 6×139.7. If the wheel cover is in place and blocks the holes, remove it first rather than guessing through the cover.
Common 6-lug and 8-lug examples
| Pattern notation | Common example use | Warning |
|---|---|---|
| 6×139.7 | Common on many trucks and SUVs | Do not round to 6×140 unless the listing explicitly uses that notation. |
| 6×135 | Seen on some full-size trucks and SUVs | Do not infer fitment from “close enough” spacing. |
| 6×114.3 | Used on some crossovers, SUVs, and light trucks | Measure the opposite holes; do not estimate from wheel look alone. |
| 8×170 | Common heavy-duty truck pattern | Do not round from a similar-looking metric size. |
| 8×6.5 | Inch-based heavy-duty pattern notation | Confirm whether the listing uses metric or inch notation before ordering. |
| 8×200 | Heavy-duty applications | Do not assume 8-lug means the same diameter across all trucks. |
Count all eight lugs, then line up the hole straight across from your starting point. The method is the same as a 6-lug wheel: measure center to center across the circle, not from edge to edge. The final notation is number x diameter, with the lug count first.
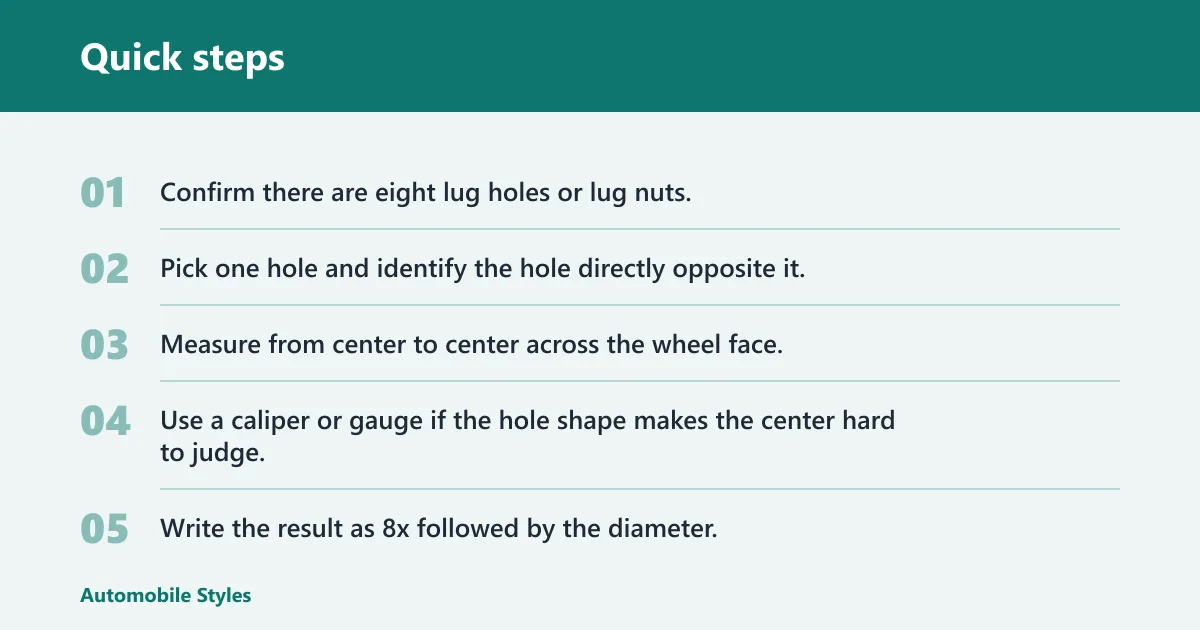
Measure an 8-lug wheel in order
- Confirm there are eight lug holes or lug nuts.
- Pick one hole and identify the hole directly opposite it.
- Measure from center to center across the wheel face.
- Use a caliper or gauge if the hole shape makes the center hard to judge.
- Write the result as 8x followed by the diameter.
On an 8-lug wheel, the hole shape, wheel lip, or center cap can make the opening look larger or smaller than it really is. Use the center points of the holes, not the outer edges, so the reading matches the bolt circle instead of the shape of the opening.
Bolt pattern checklist
| 6-lug / 8-lug step | What to verify |
|---|---|
| Count the lugs | Confirm the wheel has 6 or 8 lug holes before any measurement. |
| Find the opposite lug | Choose the hole directly across the center, not the one next to it. |
| Measure center to center | Use the center of one hole and the center of the opposite hole. |
| Tool choice | Use a ruler, tape measure, caliper, or bolt pattern gauge. |
| Units to record | Keep the same units used by the listing or lookup, metric or inch. |
| Common error to avoid | Do not measure edge to edge, and do not confuse the bolt pattern with the center bore. |
| Final match or not | Compare your reading to the vehicle or wheel spec before ordering. |
What if the wheel is covered?
Remove the hubcap or wheel cover first if it blocks the lug nuts. One exposed wheel is usually enough for the check, so you do not need to pull every wheel on the vehicle. If the reading still looks uncertain, use the vehicle year, make, and model lookup to confirm the pattern.
Check a covered wheel without guessing
- Remove the hubcap or wheel cover to expose the lug nuts.
- Inspect one wheel only; the bolt pattern is the same for matching wheels on the vehicle.
- Measure the exposed wheel with a ruler, tape measure, caliper, or gauge.
- Enter the vehicle year, make, model, and option in a bolt pattern tool if the direct read is unclear.
Accuracy starts with the lug count, then the opposite-hole measurement, then a clean written result. Measure one wheel at a time, keep the tool flat across the wheel face, and use the same unit from start to finish. If the pattern is uncertain, a year/make/model lookup is the safest next step.
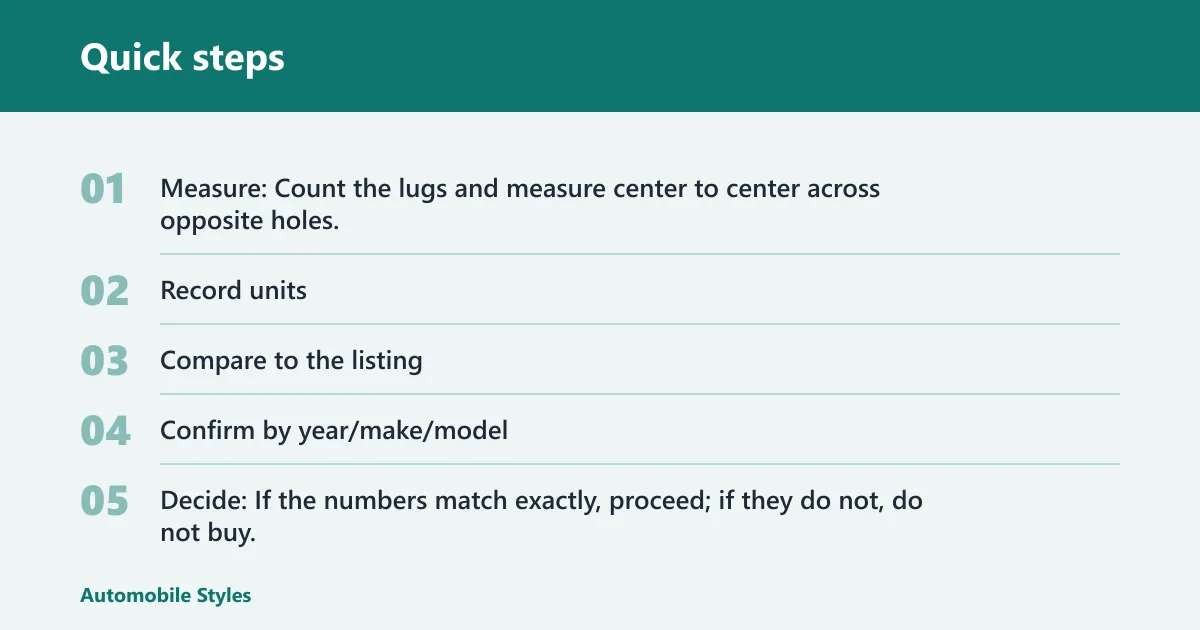
Purchase-prevention workflow
- Measure: Count the lugs and measure center to center across opposite holes.
- Record units: Write the result in the same unit used by the listing or vehicle spec.
- Compare to the listing: Check the bolt pattern notation exactly, including the decimal if shown.
- Confirm by year/make/model: Use the vehicle lookup when the wheel face, cover, or hole shape makes the reading uncertain.
- Decide: If the numbers match exactly, proceed; if they do not, do not buy.
Match / Do Not Buy: Buy only when the lug count, bolt circle diameter, and notation all match the listing or vehicle spec exactly. If the reading is rounded, unclear, or different from the lookup, do not buy until you verify it.
Common mistakes and how to avoid them
- Measuring the wrong points: Put the tool on the center of each hole, not the outer edge.
- Counting the lug holes incorrectly: Count every hole before you measure, then confirm whether the wheel is 6-lug or 8-lug.
- Mixing up bolt pattern and center bore: The bolt pattern is the circle formed by the lug holes; the center bore is the opening in the middle.
- Writing the wrong unit or decimal: Record the result exactly as the wheel or vehicle spec lists it, such as 6×139.7.
If a measurement lands near 6×139 and the wheel listing says 6×139.7, that small difference can matter. If the vehicle lookup gives a direct match, use that number rather than rounding by eye.
If that didn’t work, try this next
- Open the vehicle year, make, model, and option selector in a wheel fitment tool.
- Compare the listed pattern to the number written on the wheel or hub.
- Check whether the wheel is metric or inch based before ordering.
- If the direct read still seems off, measure a second wheel and compare the result.
If the wheel face, cap, or hole shape makes the reading uncertain, the next step is a vehicle lookup by year, make, model, and option. Use that result to confirm the notation before you place an order.
Frequently asked questions
How do I measure a 6 lug wheel bolt pattern?
Count the six lug holes first, then measure from the center of one hole to the center of the hole directly opposite. Record the result as 6x followed by the diameter, using the same unit shown in the wheel or vehicle listing. One wheel is enough for the check.
How do I measure an 8 lug wheel bolt pattern?
Count all eight lug holes, then place your tool from the center of one hole straight across to the center of the opposite hole. Write the result as 8x followed by the diameter. A bolt pattern gauge can speed up the read when the hole centers are hard to judge.
Do I measure from center to center on a 6-lug wheel?
Yes. For 4, 6, or 8 lug bolt patterns, the measurement runs from the center of one lug to the center opposite. That center-to-center line is what gives the circle diameter. Measuring from hole edge to hole edge will give the wrong number.
What is the correct way to measure an even-number lug pattern?
Count the lugs, identify the hole directly across from your starting point, and measure center to center across the wheel face. Even-number patterns follow that opposite-lug method. Five- and seven-lug patterns are different, so do not use the same read for them.
Can I use a ruler or tape measure to check bolt pattern?
Yes. A ruler or tape measure can check the pattern well enough for most buyers if you line up the centers carefully. A caliper or bolt pattern gauge can make the read easier when the hole shape is awkward or the wheel is partially covered.
How do I tell if my wheel bolt pattern is correct before buying?
Compare your written result to the wheel listing and, if possible, confirm it with the vehicle year, make, model, and option lookup. The match has to be exact, including the diameter number. If the listing and measurement disagree, do not order until you verify both.